In Progress
Architecture moves slowly. The projects shown elsewhere on this site may look new, but many were first sketched years ago. Good buildings take time to design, permit, build, and refine. While those projects make their way into the world, here are a few of the spaces we're currently imagining, designing, and building.
444 SunBum Concept Shop
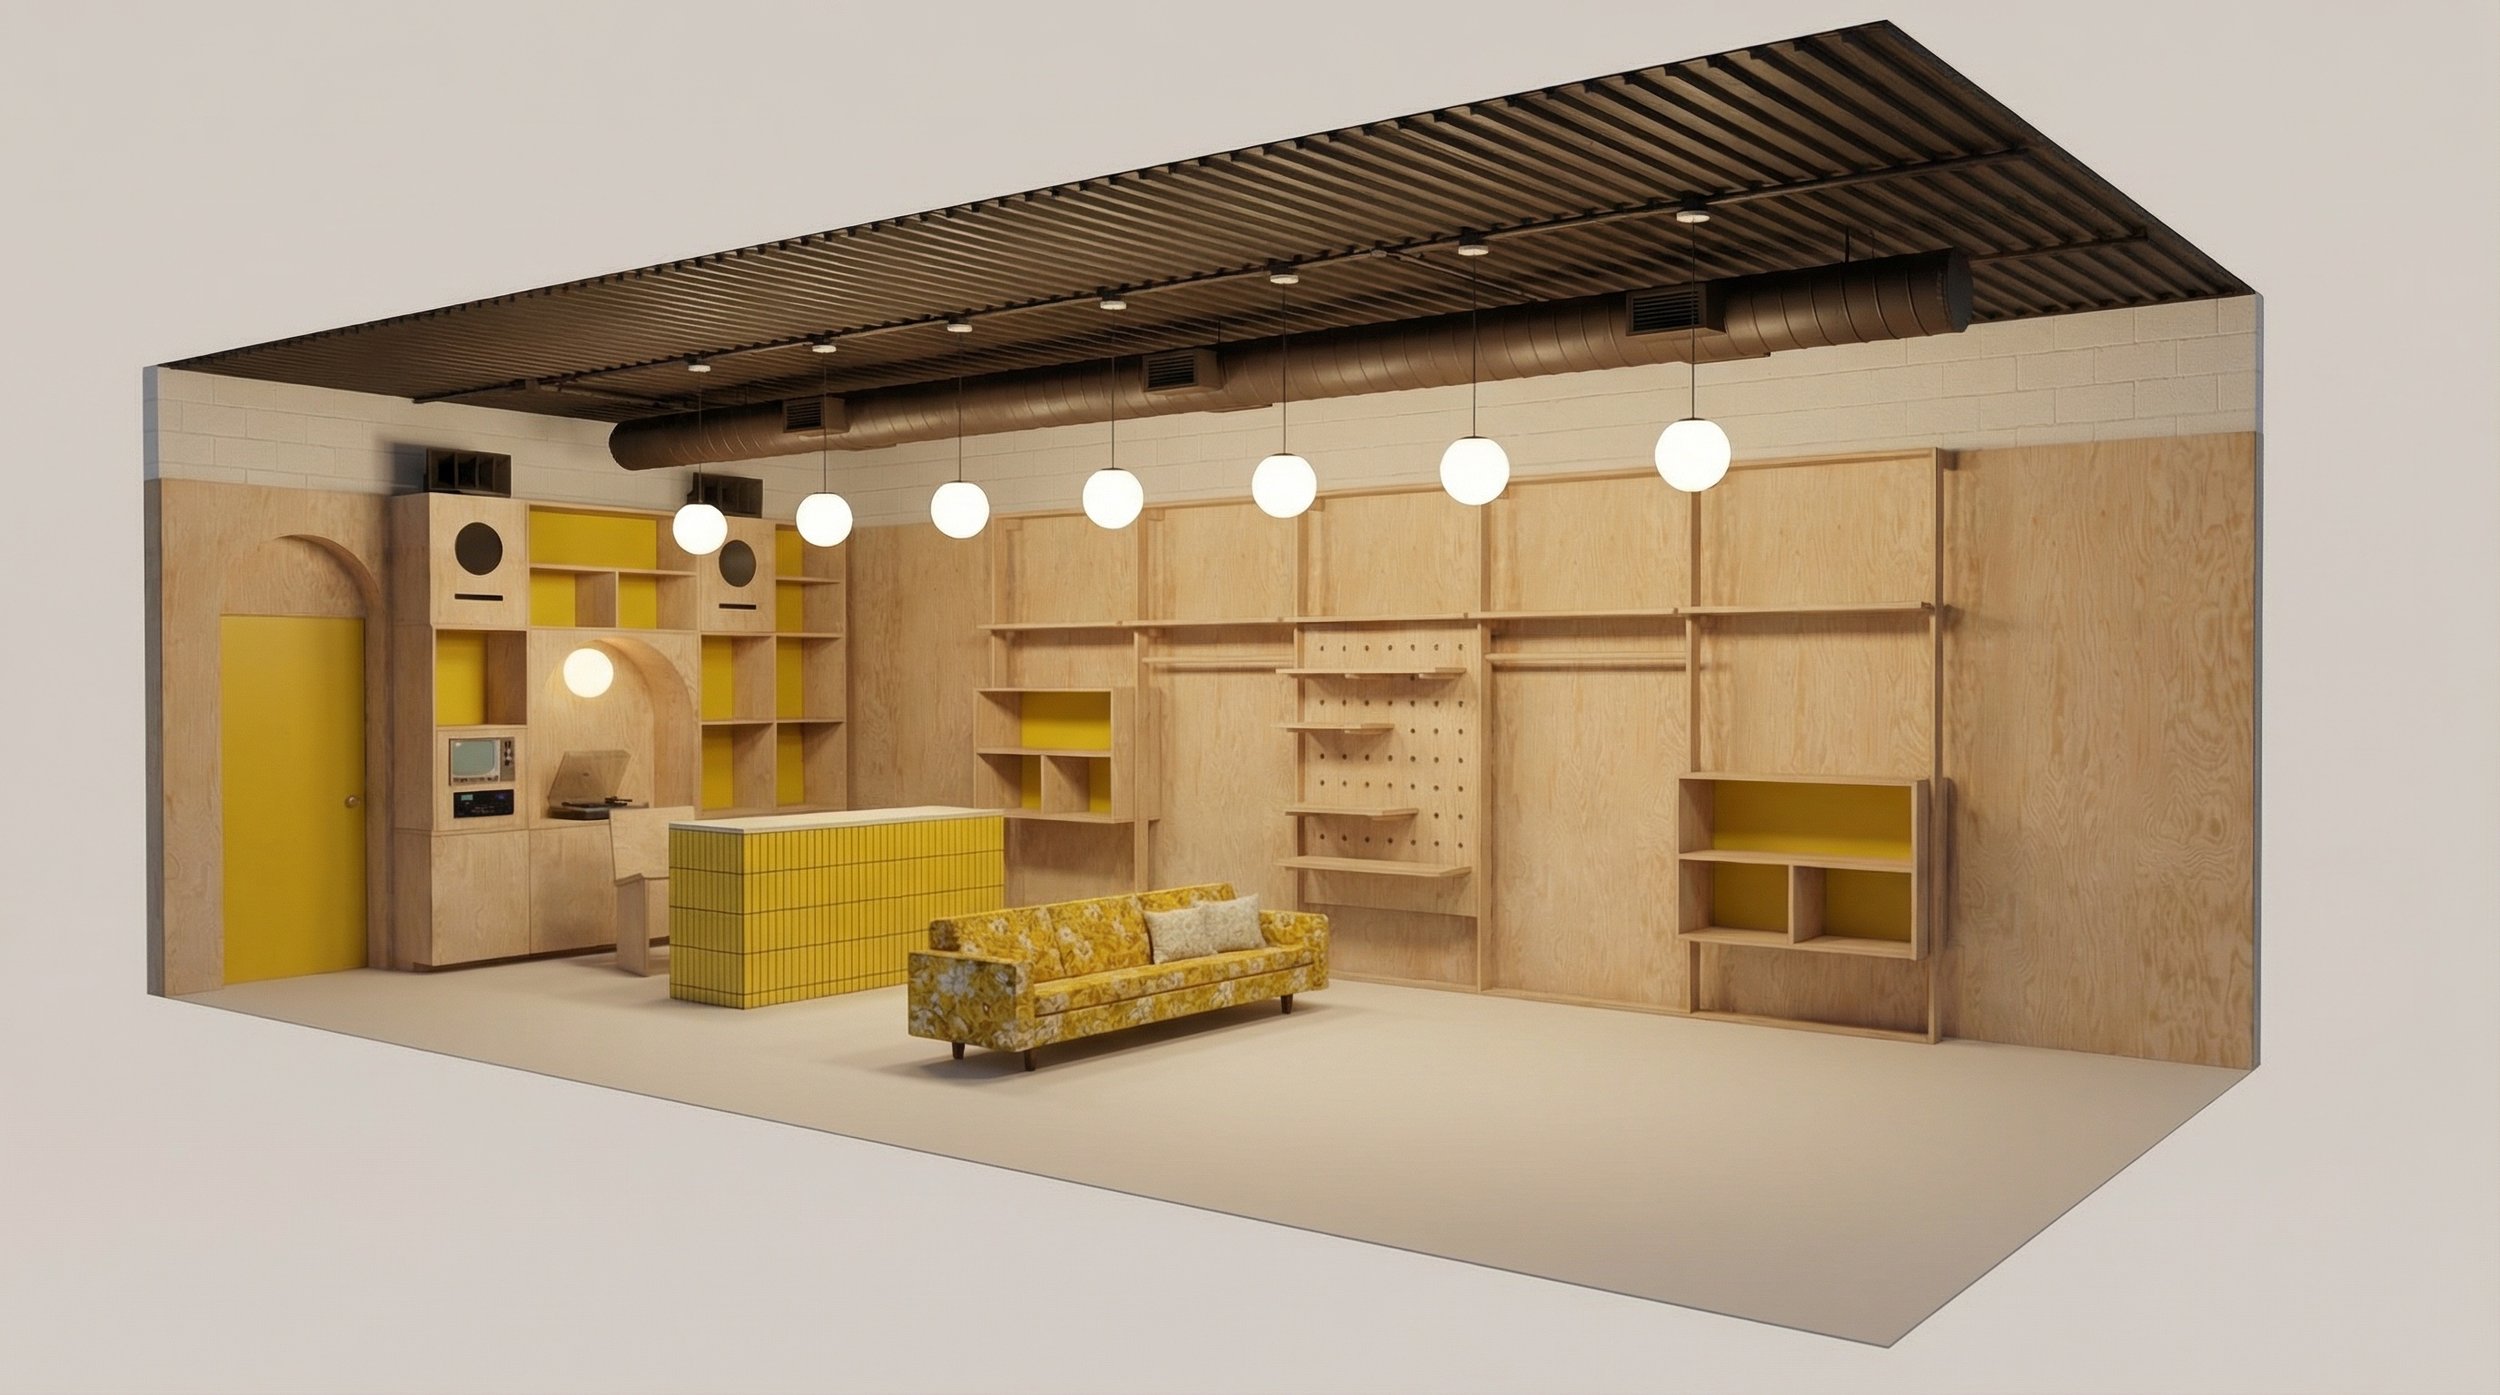
A complete reimagining of Sun Bum's flagship concept shop, transforming an underutilized side passage into a flexible indoor-outdoor retail experience. The project includes a new courtyard, landscaping, seating, and merchandising systems designed to extend the brand beyond the four walls of the store.
364 Encinitas Garden
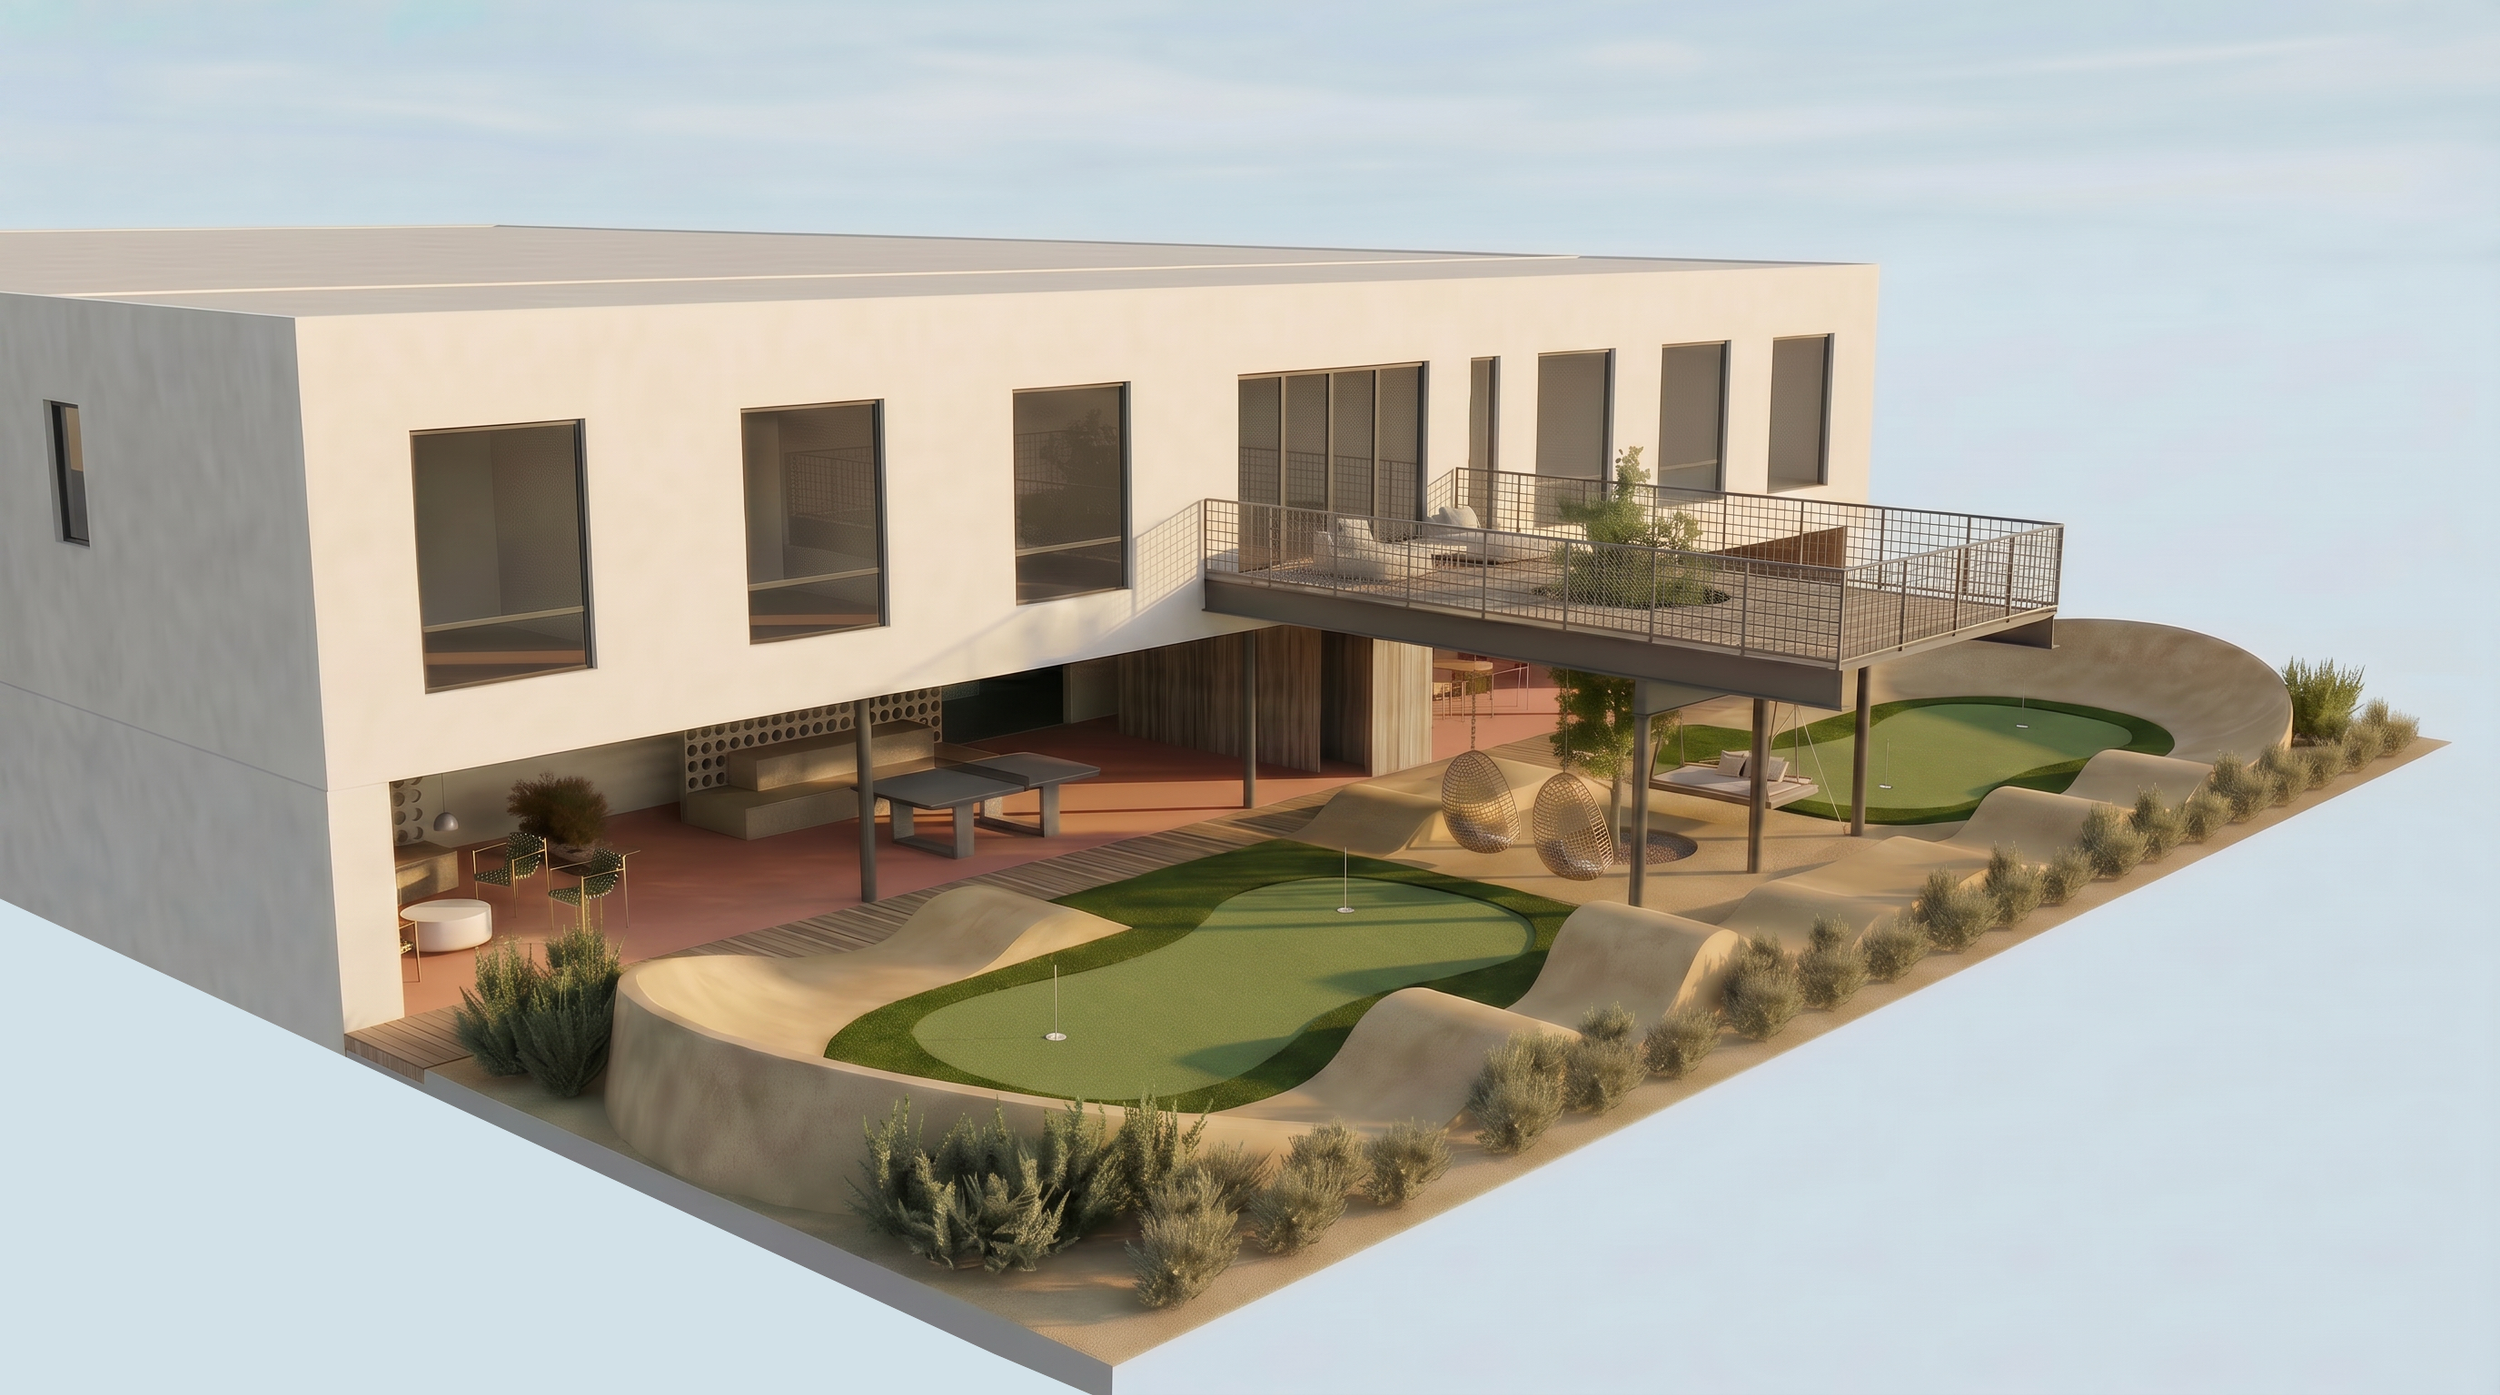
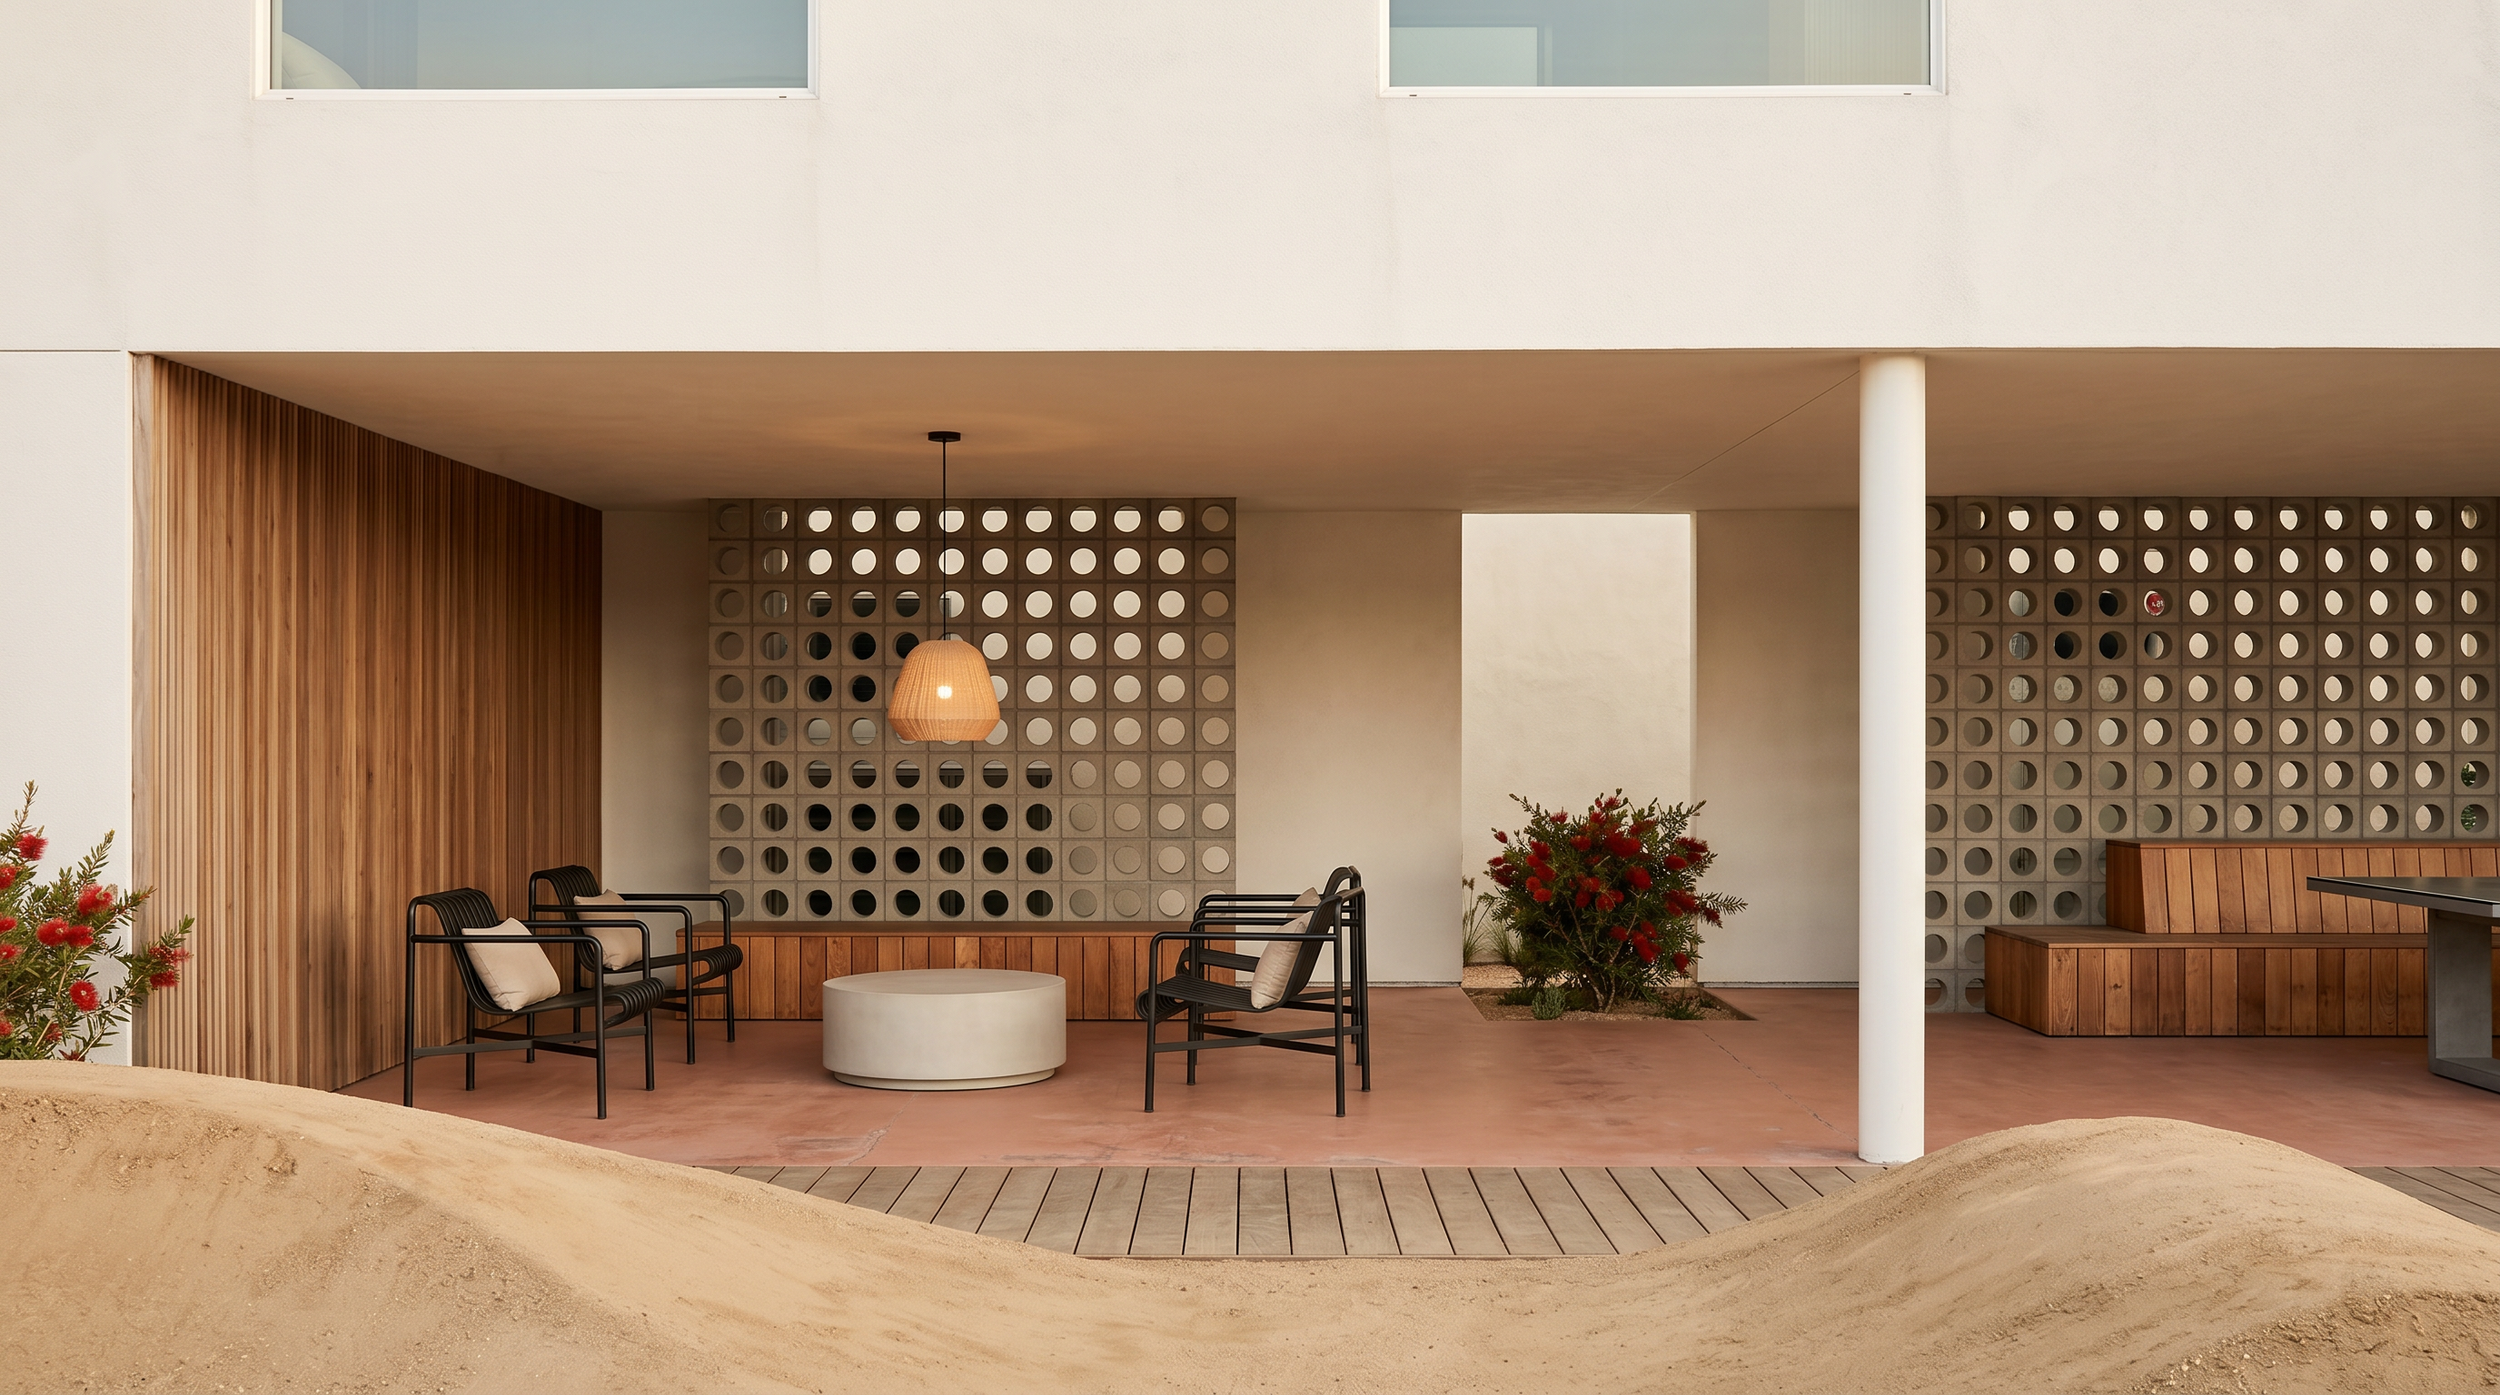
What was once a parking lot becomes a park. This project converts underutilized pavement into a pump track and outdoor gathering space with native landscaping, shaded seating, and flexible areas for work, play, and community. A small intervention with a big impact on daily life.
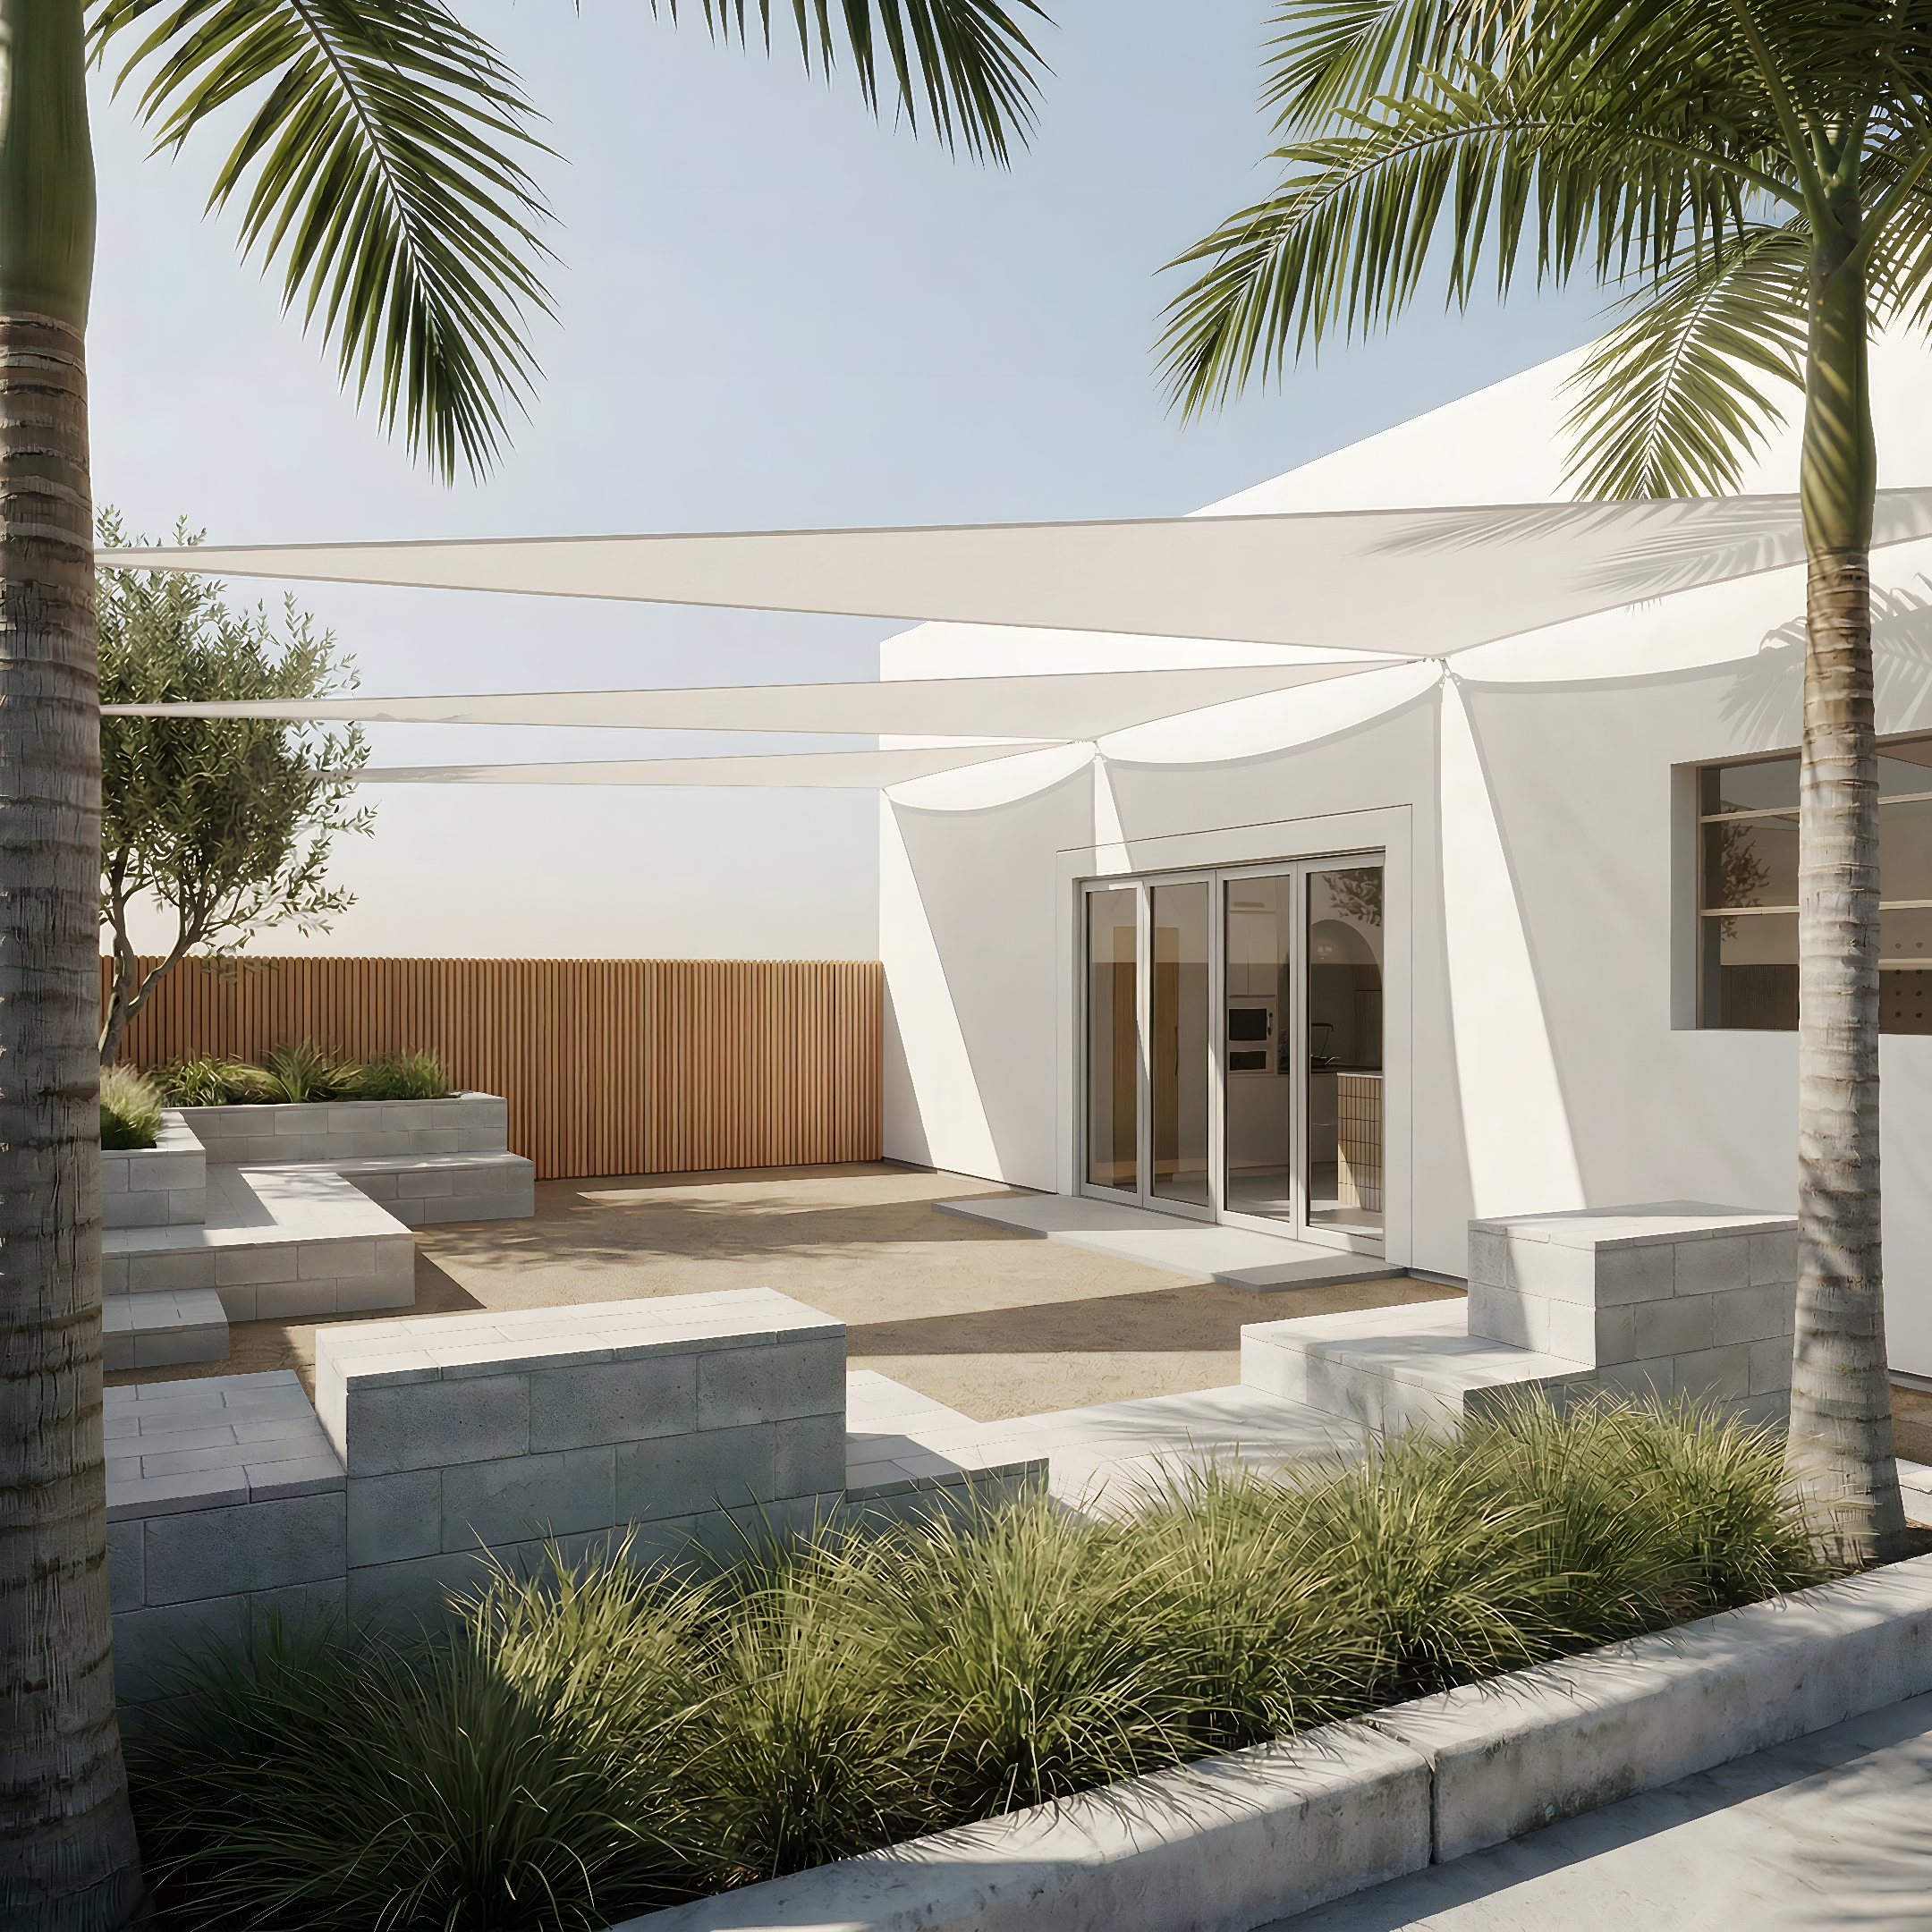
1715 Commonwealth Cabin
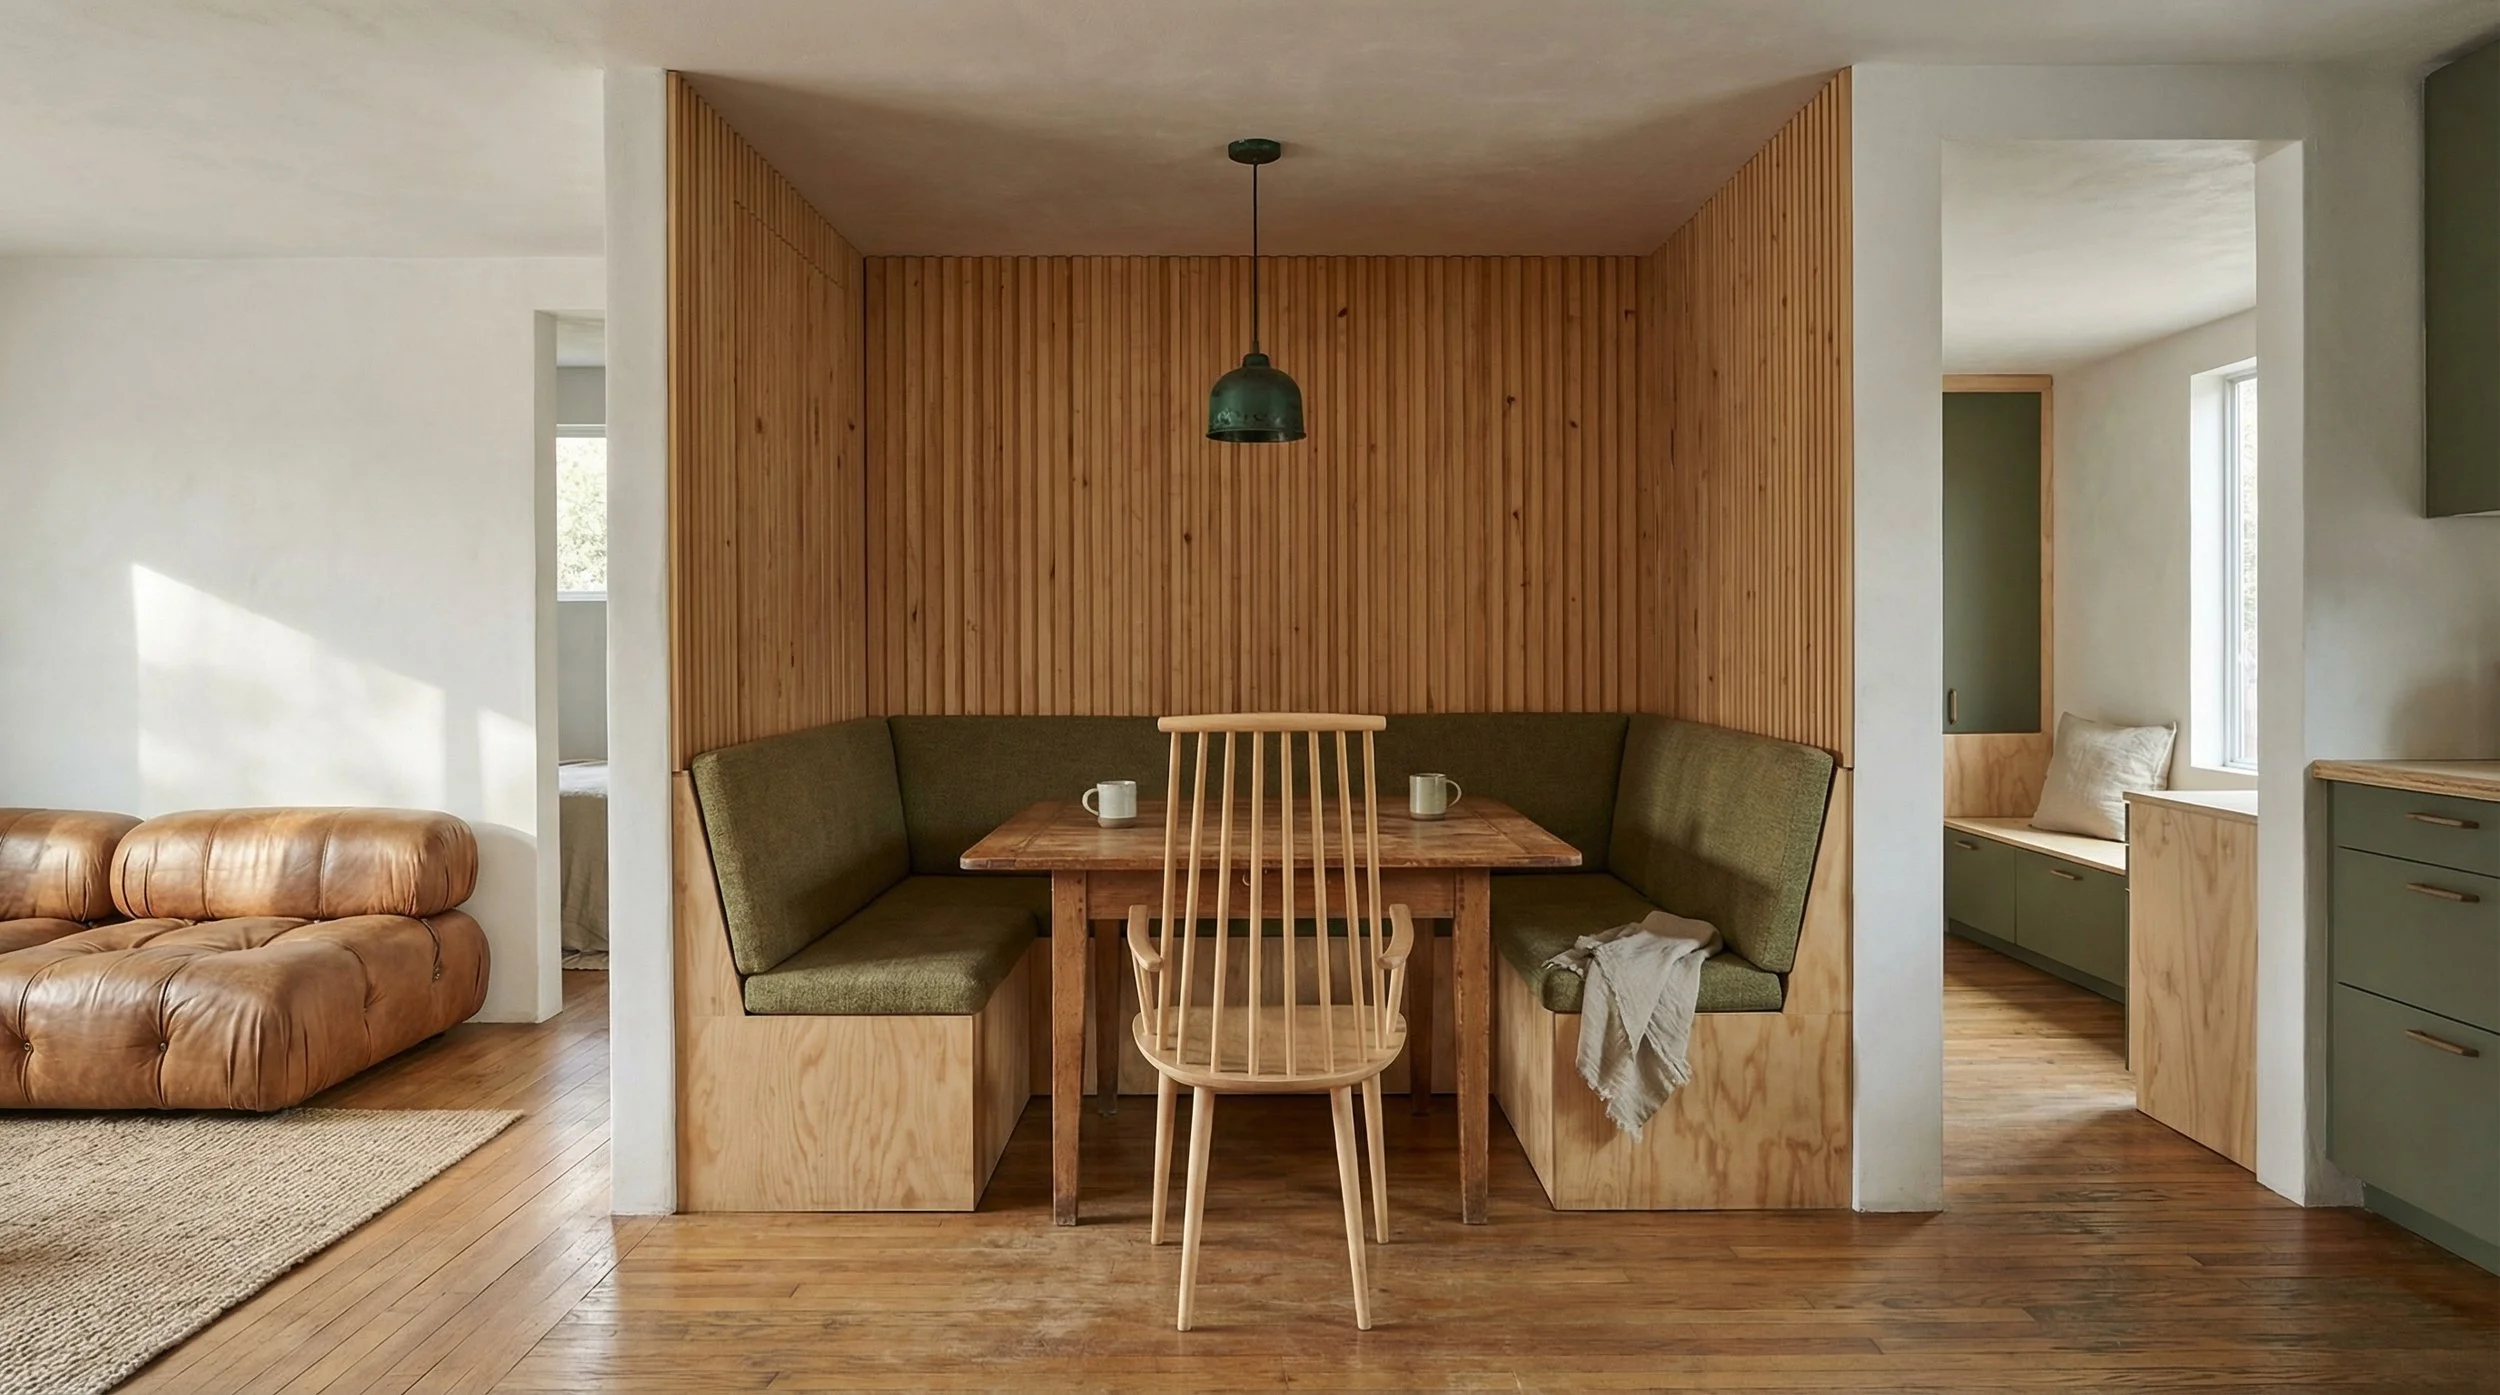
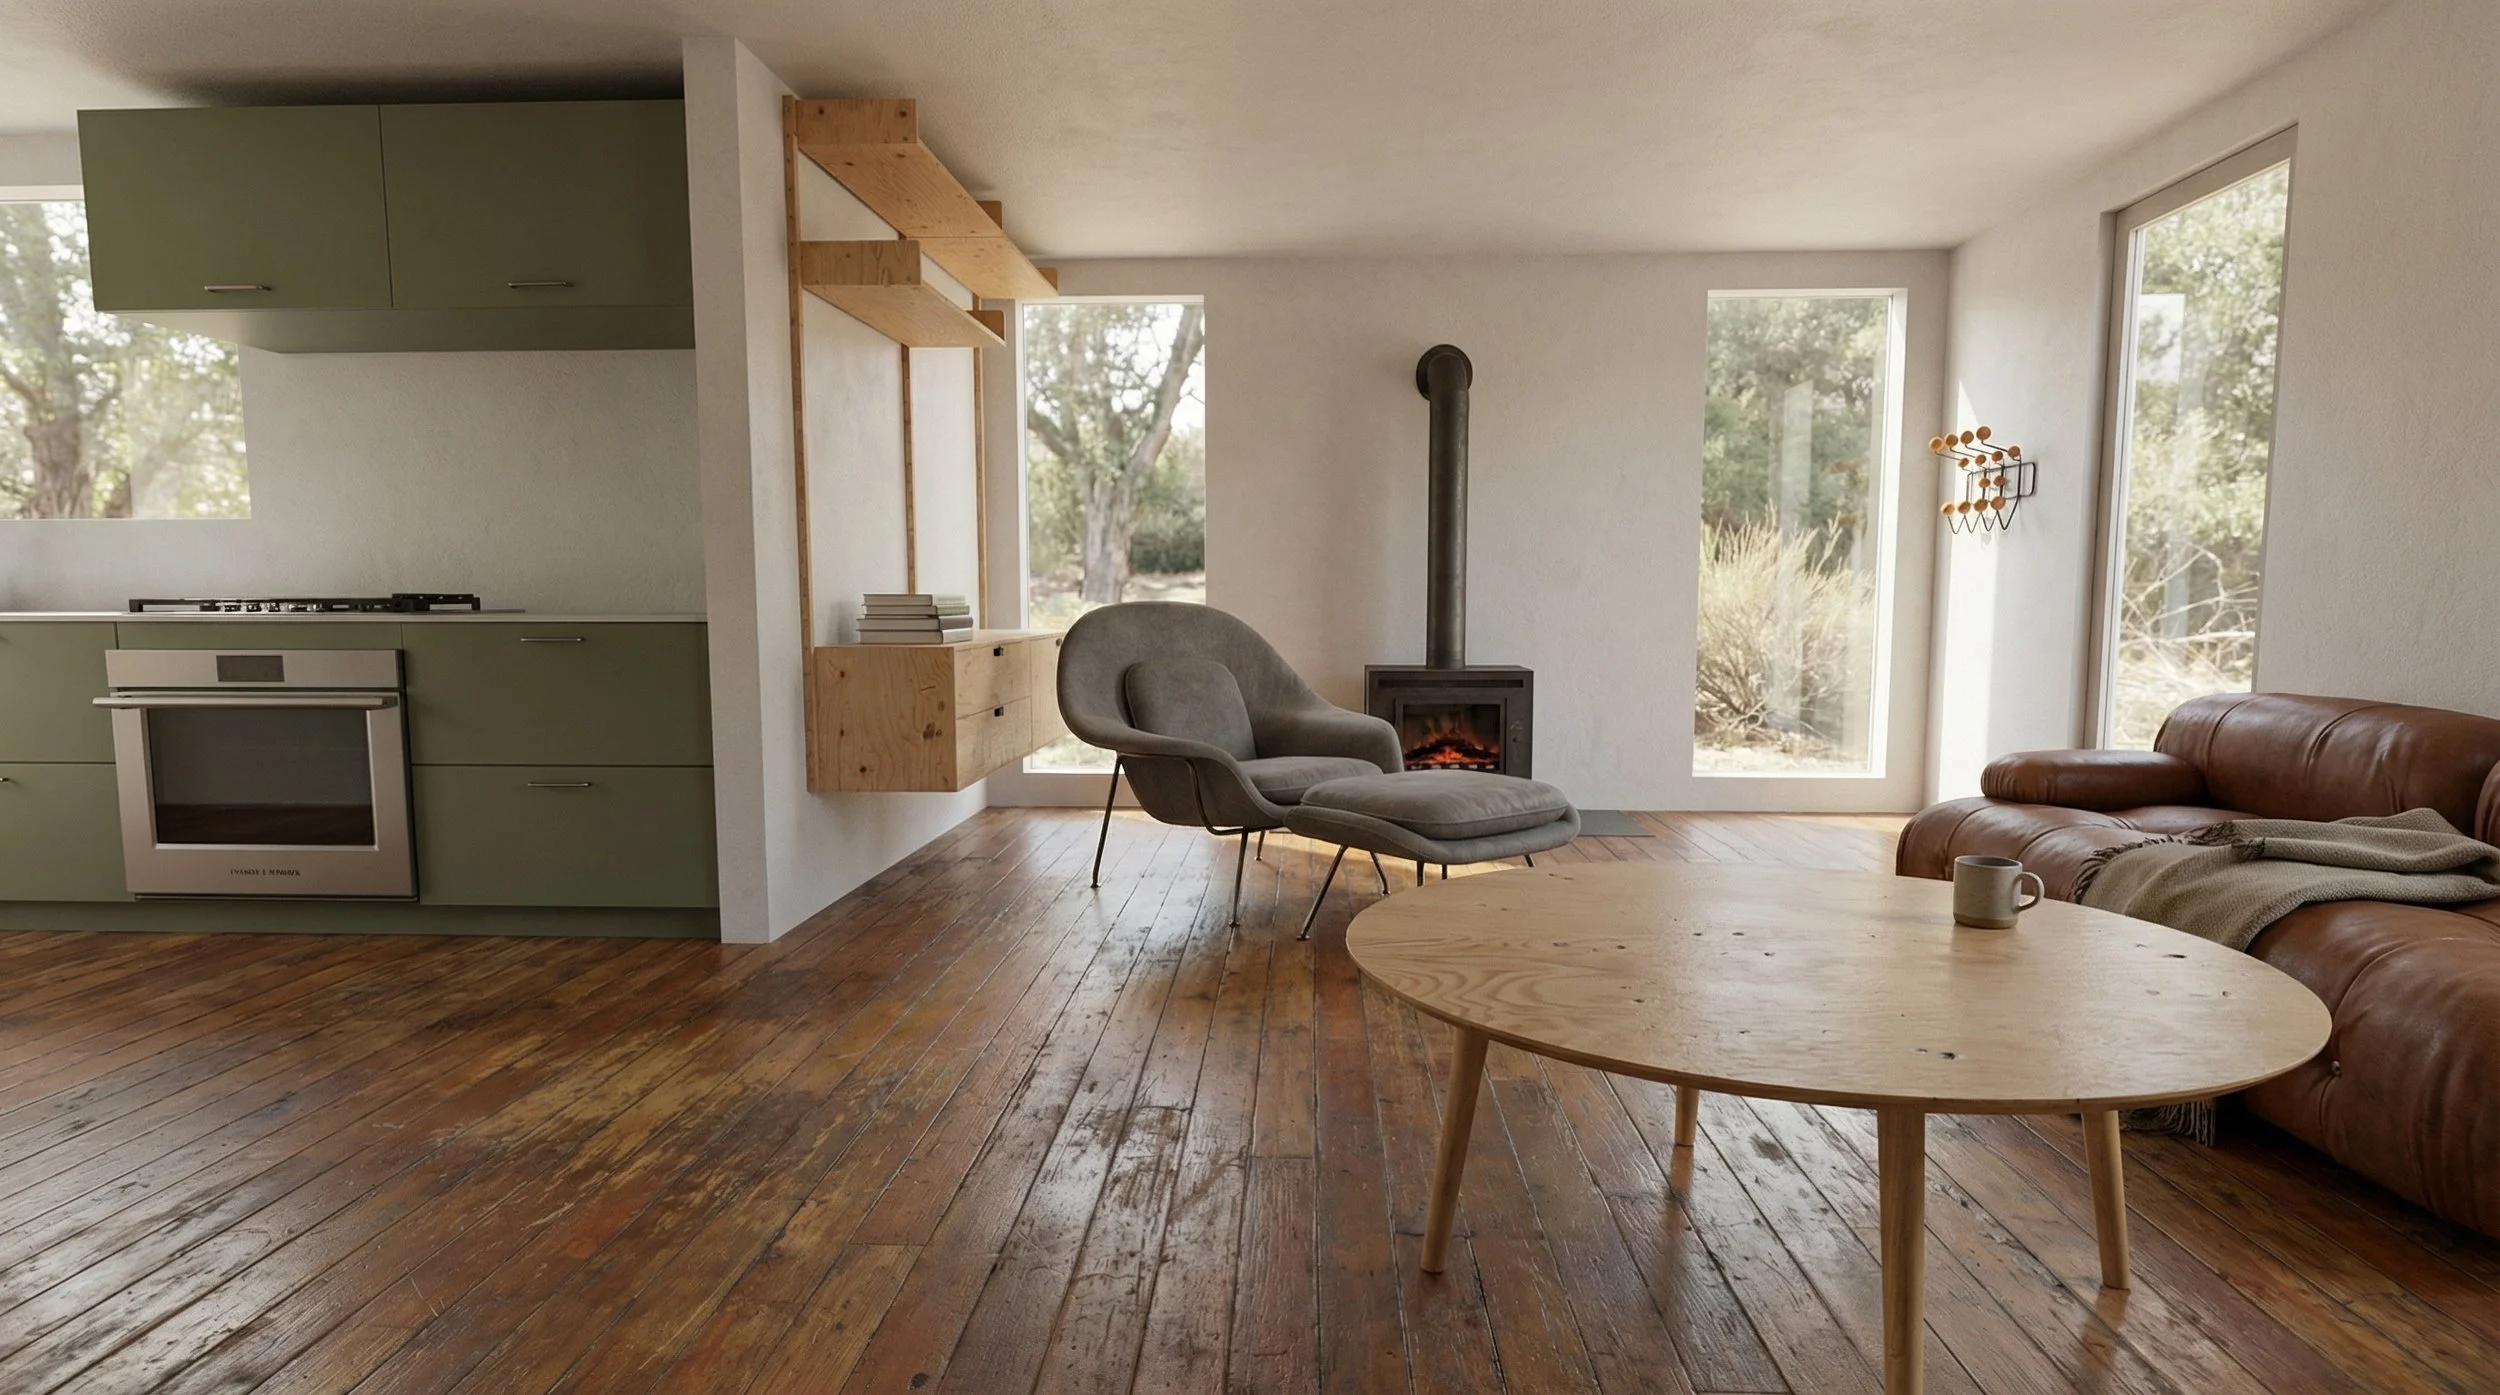
A thoughtful reworking of a small hillside cabin, improving flow, functionality, and livability while preserving the character that made the house special in the first place. The project includes a new kitchen, updated finishes, and a more efficient relationship between the home's shared spaces.
1265 Glendale Bungalow
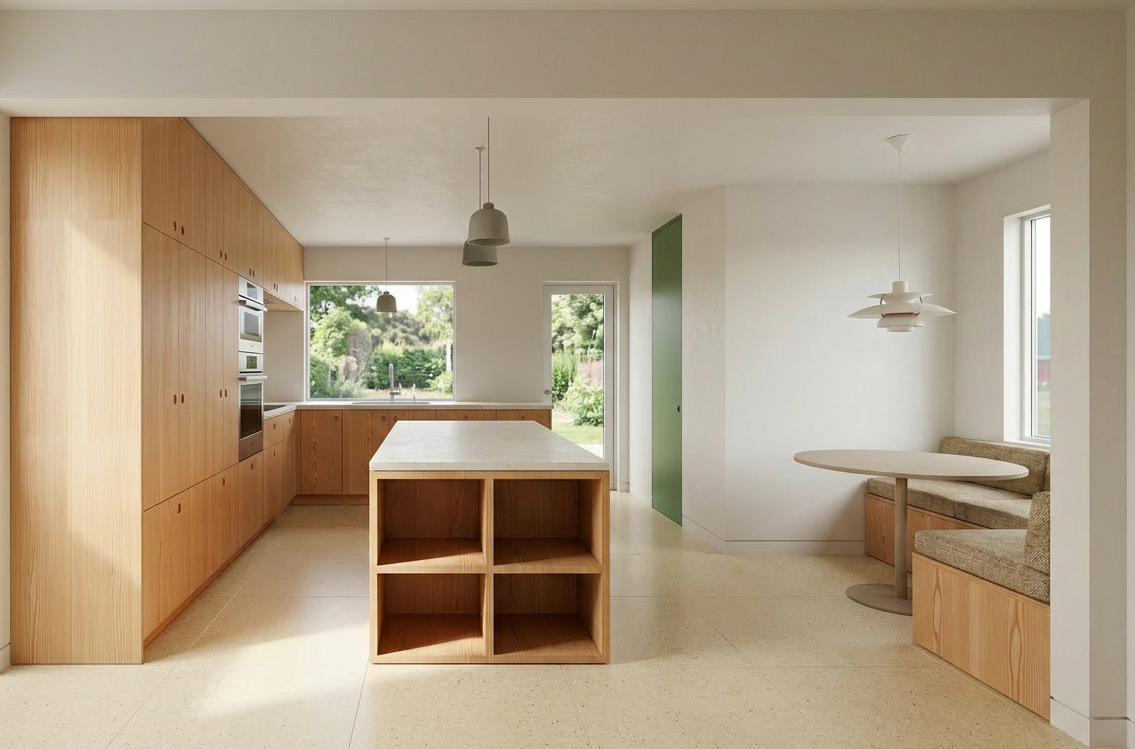
A comprehensive renovation focused on improving everyday life through better planning, natural light, and carefully integrated materials. The project combines a new kitchen, additional bathroom, and a series of smaller architectural interventions that make the home feel larger, calmer, and more connected.
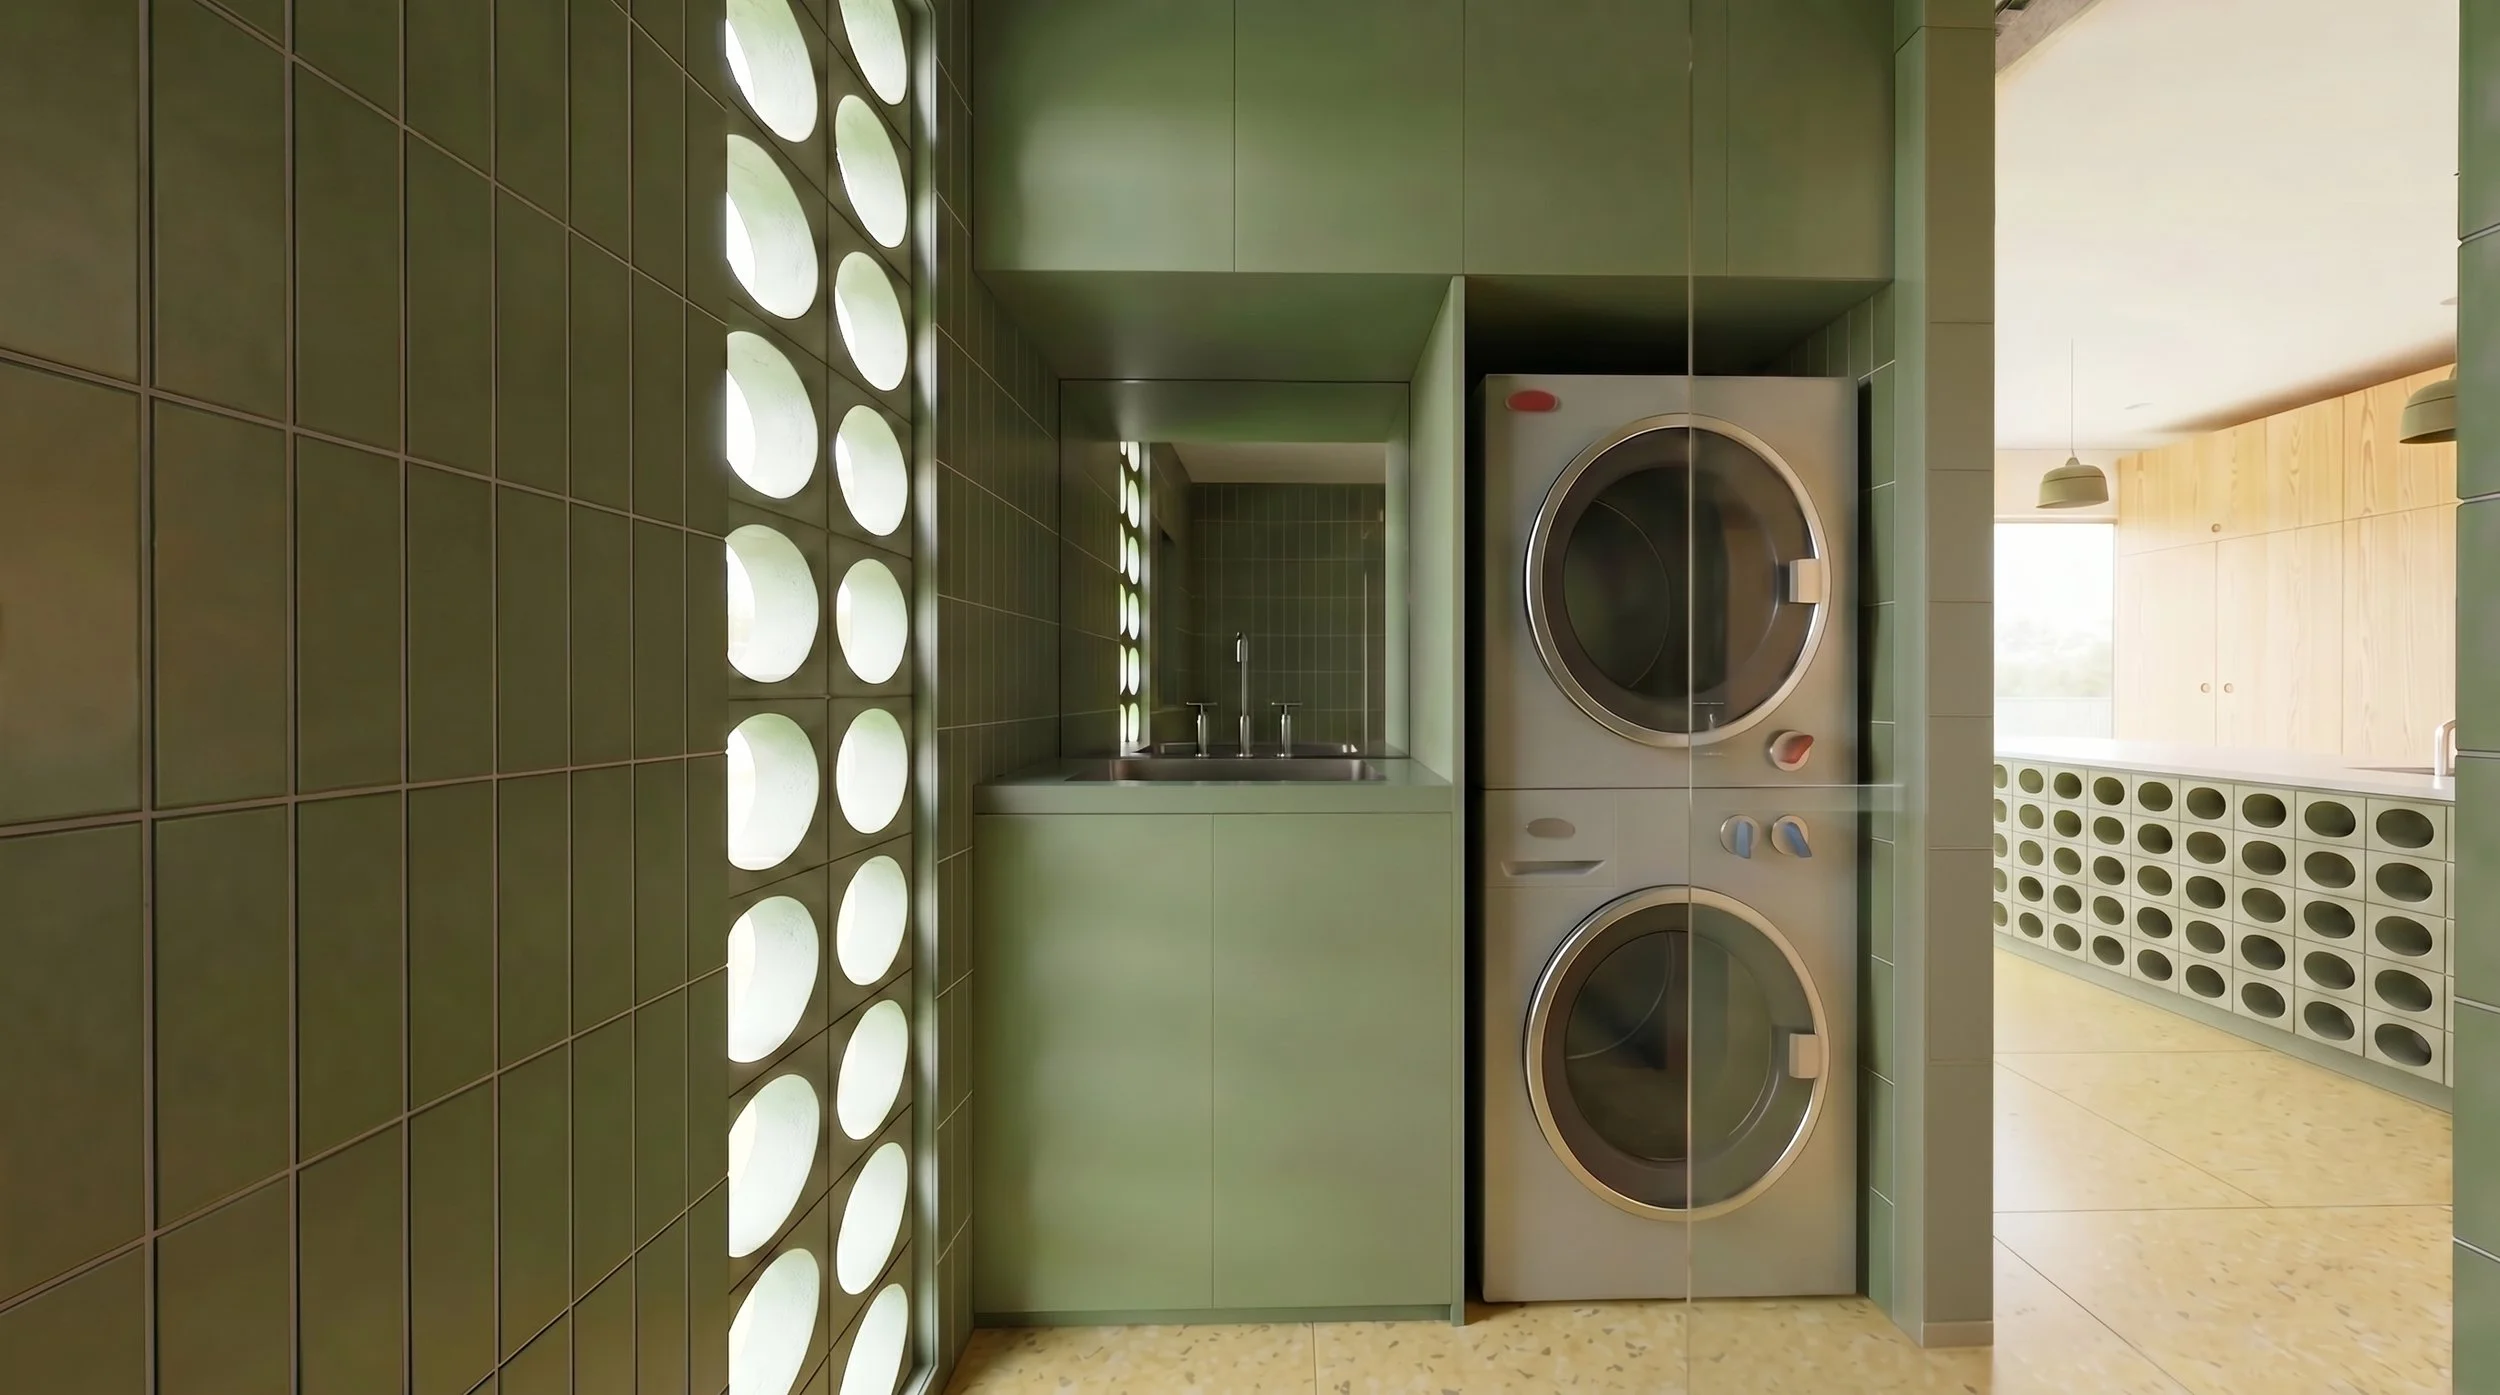
1011 Weho Loft
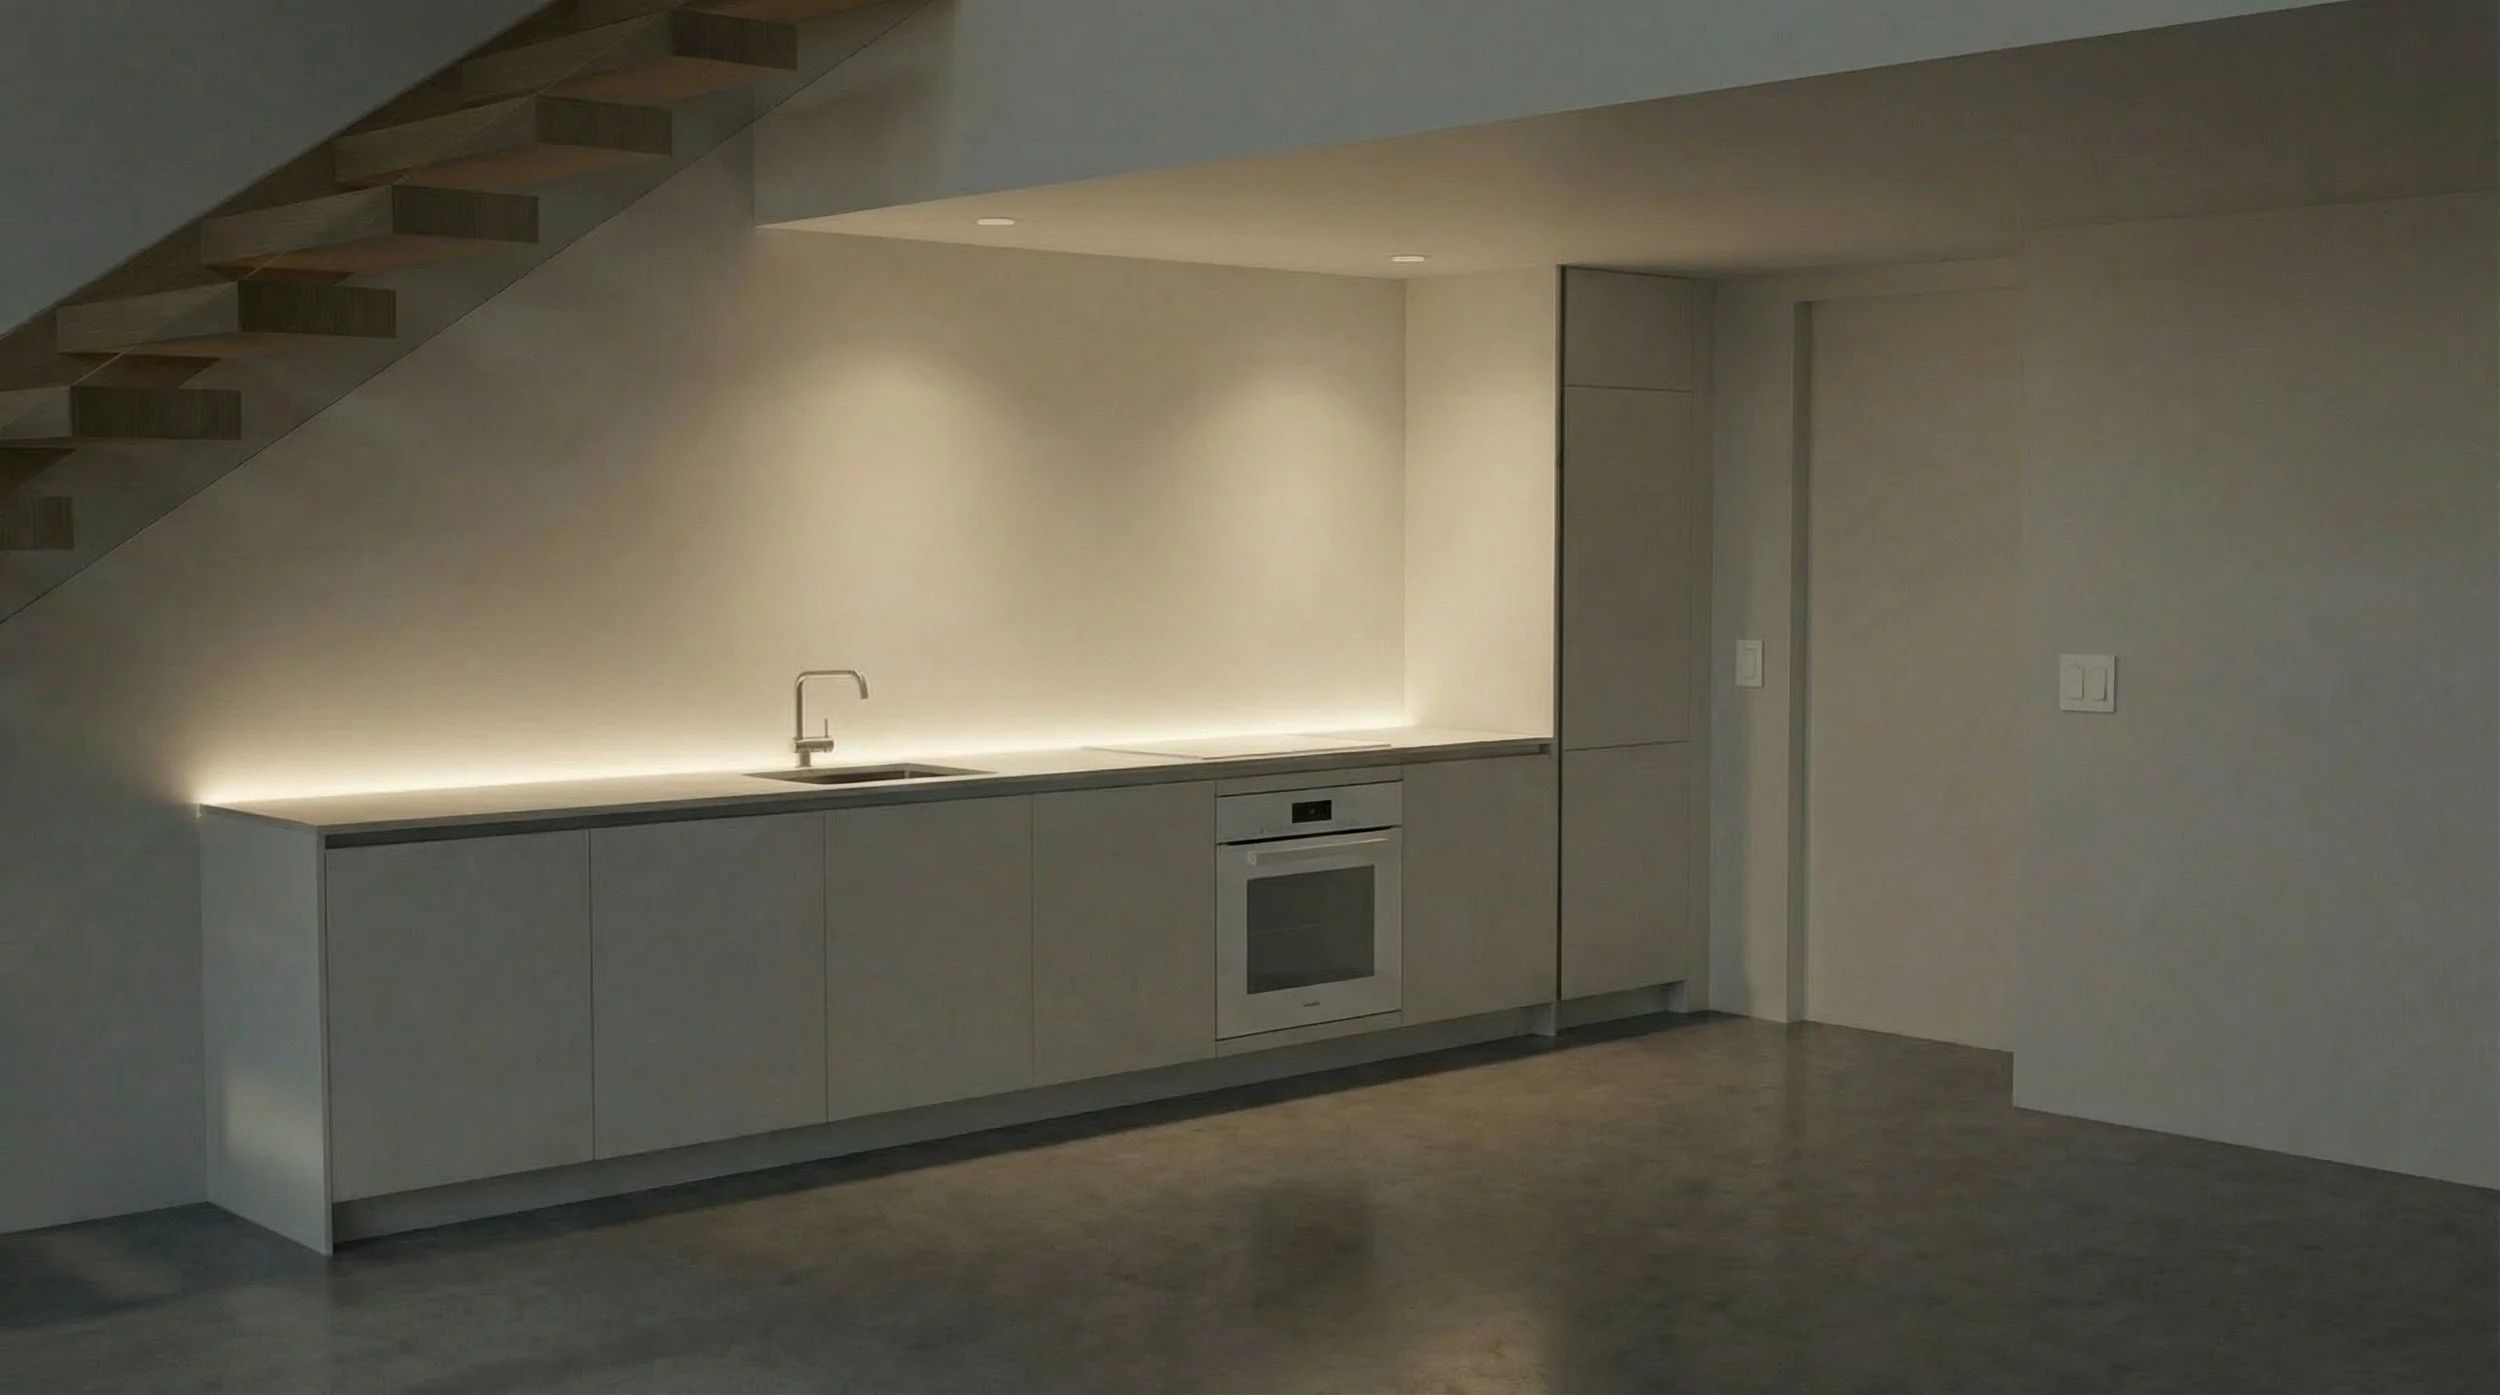

A highly customized renovation centered around a new kitchen and integrated storage systems. Designed in collaboration with the client, the project explores how thoughtful materials, millwork, and layout decisions can transform a compact urban space without increasing its footprin
Credits
Jared Eberhardt
Designer/Architect